How to Navigate Audio File Recovery on Digital Voice Recorders
Use this step-by-step instruction here to learn how to navigate audio file recovery on digital voice recorders.

If you’re looking for the best cell phone listening experience, chances are you’re using wired headphones on an android, and if you’re constantly plugging those headphones into and out of the jack, the chances are that you’ve encountered some problems or malfunctions along the way.
Before you rely on that overpriced cell phone insurance or replace the phone for something else so you can get back to the crystal clear tunes, let’s take a look at how to fix the jack on your android phone.

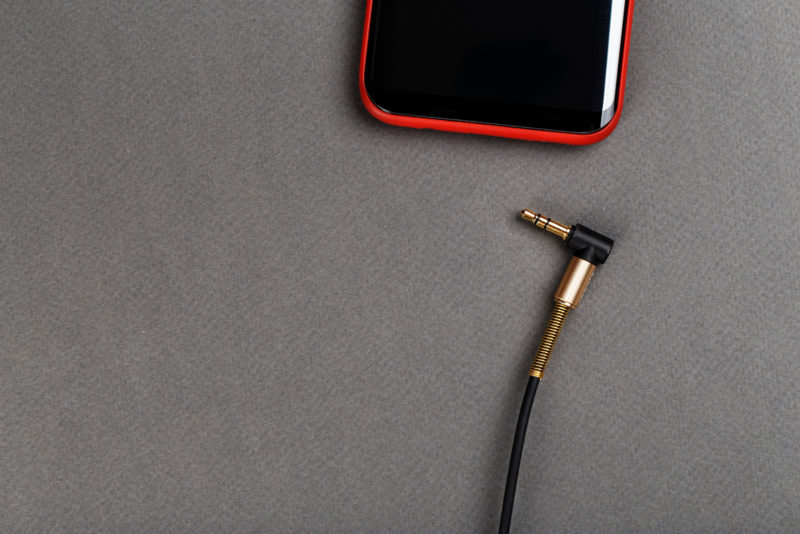
audio cable mini jack and mobile phone on a gray background
Often a broken headphone jack (here’s what to do with broken headphones) is the symptom of another problem on your phone. First, you’ll want to check your connectivity and software, then clean the phone and jack, and finally, find a cell phone repair person as a last resort.
That covers the basics, but let’s dive into the how-to’s.

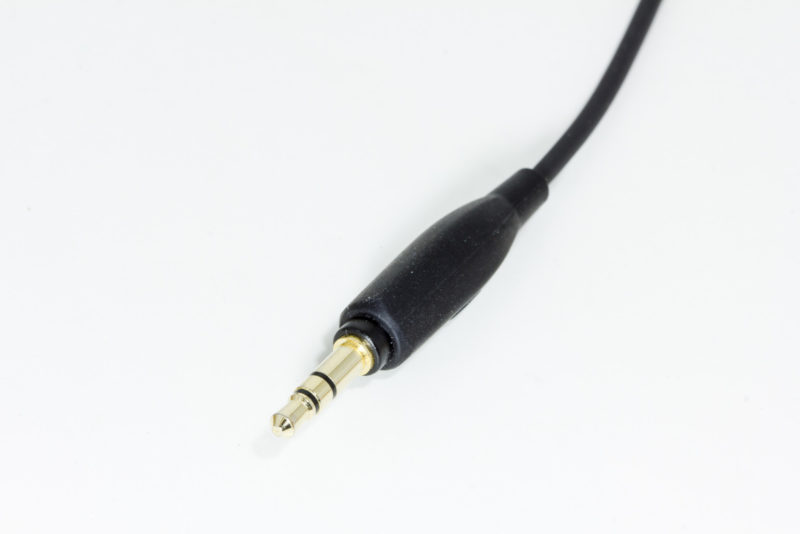
small golden headphone jack
Specifically, a 3.55 mm headphone jack is the female end of a jack and plug (male end) wired connection.
Jack and plug connections are conductive, meaning they allow an electrical current to flow through them. In the case of your cell phone, that conductive connection allows audio in the form of an electrical current to flow from your cell phone’s audio source to your headphones (see also how to combine two sound sources into headphones).
The various types of headphone jacks and plugs can give a stereo signal, mono signal, and balanced and unbalanced audio. The most important thing to remember when having connectivity issues, though, is that the most basic mono audio from your phone, the kind you’ll most likely be listening to, is delivered from the tip of the male plug alone. That means if you troubleshoot your connectivity issues back to your 3.55 mm jack connection, it’s all in the tip.
This should explain why even a little bit of lint can create a signal blockage.
The first thing you’ll want to check with any wired connectivity issues is the wire itself. If you heard crackling and popping before your sound loss, there’s a good chance it’s the wire. With headphones, checking the wire is easily done by simply plugging the headphones into another device that uses a 3.5 mm jack and allows headphone listening.
The universal nature of the 3.5 mm jack means it won’t have to be an android specific device, just anything with the jack. So this can be an Apple phone, old cd player or boom box, computer, or even your car stereo.
If you can’t find any other jacks, the best thing you’ll be able to do is to give the headphones and their wire a good visual inspection. Look for any disconnected wires or bends, or kinks in the line. Does the audio cut out in your wired headphones when you move the headphones?
If you’ve crossed your headphones off the list, the next step is checking the phone’s Bluetooth settings. You’ll sometimes find that if your phone’s Bluetooth is connected to another device in the house or car, the audio is routed to that device instead of through the headphone jack.
The simple fix for this is turning off your phone’s Bluetooth connection. This can be done on most Android phones by unhighlighting the Bluetooth Symbol.
If your headphone jack still isn’t working, another easy fix is checking the phone’s software. There are a number of ways to do this, but one of the easiest is by downloading an app.
Sound Amplifier is an app that not only gives you control over your phone’s headphone port but also improves your listening experience.
If you’ve checked all other connectivity options and your cell phone is still not connecting to your headphones, your next step is cleaning the port itself.
Cleaning the port may inadvertently lead to damage to your jack, so it is a risky option, but there is a good chance your lack of connection is due to dust and or lint build-up in the port. This is especially true if you store your cell phone in a pair of jeans throughout the day.
The first step in cleaning your port is turning the power on your phone off, as the port does transmit a small amount of electrical energy.
The next thing you’ll want to do is find something small in your house, like a pair of tweezers, a toothpick, or a safety pin.
Once you have the object, you’ll want to take it and gently wipe the inside of your phone’s port. As you wipe and gently scrape down, you should feel a collection of lint and dust move with your utensil. If you have a flashlight, now’s the time to shine it in the jack and look for any particles leftover.
To finish cleaning your port, take just enough alcohol to wet the end of a small piece of cotton and gently wipe out any residual material.
Once the inside of your cell phone’s port dries out, you can go ahead and power it on, plug in your headphones, and give it a listen.
The last step in repairing your phone’s jack is just that, getting it repaired.
Whether you go with Geek Squad or a local company, It doesn’t hurt to give a local company a call to figure it out when in doubt. Most small cell phone repair shops are locally owned by guys and gals, just like you, trying to earn a living. You’ll often find their prices for small things like a jack repair are far more reasonable than even using your plan’s insurance.
Running into audio problems on your cell phone can be a real pain. Whether you’re using your wired headphones to talk to your boss, to work out, or just destress with some music, the last thing you want to encounter is more stress, thanks to a bad connection.
If you do encounter a problem, don’t fret, just follow the steps above, and you’ll be listening to your tunes in no time.