How to Charge AirPods Without a Case
Discover the truth about how to charge AirPods without a case. Uncover myths, find alternatives, and safeguard your audio experience.

Microphone hiss can feel unbearable and unavoidable. If you’ve ever recorded a segment of audio only to find that relentless buzzing hovering beneath your audio, you’re not alone.
Microphone hiss is actually quite common and is caused by a variety of factors, from the lawn mower down the block to the microphone in front of you. This article unpacks where the hiss may be coming from and how to remove it.
Every microphone has hiss, or background noise (see here to reduce background noise on a blue Yeti mic), to varying degrees. There are several ways to get rid of microphone hiss.
Unless you already own a completely isolated, soundproof recording studio, chances are your microphone is picking up some unwanted background noise from the environment around you.
Background noise, or ambient noise, refers to any noise or sound that is not being monitored or intentionally recorded. This can also be understood as noise pollution, and can be detrimental to any recording project that requires clear, uninterrupted audio.
Here are some common background noise sources and tips on how to get rid of them:
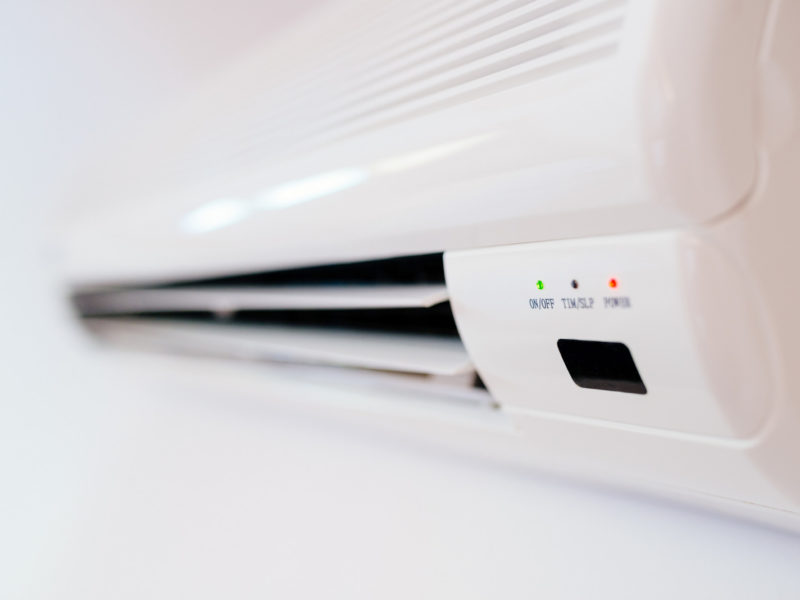
Air conditioners and other devices can create background noise.
Electrical sources are going to be the most common sources of background noise found within your home or recording space. These can be sound-emitting sources that you need or have gotten so used to hearing that they are no longer noticeable, like an air conditioner, or the hum of a fluorescent light bulb.
Whatever the electrical source may be, it is important to note whether or not that source needs to be active while recording is in progress, or if it can be removed temporarily or even permanently.
For example, running the AC prior to recording to cool down the space, then turning it off, is a good way to stay comfortable and eliminate background noise.
Unplugging your Christmas lights or miscellaneous fluorescent light bulbs, or switching permanently to LED light bulbs, which do not emit that annoying buzzing sound, are great ways to reduce background noise.
If you cannot remove or deactivate these electrical sources, try moving away from them to another space where they are not present.
These are sources that are not under your control and are creating ambient noise outside of your home or recording space.
Outside noise sources can be anything from a car passing by to your upstairs neighbor stomping around. Outside noise of any kind can feel frustrating and you may think you cannot do anything about it, but there are some changes you can make to avoid this type of noise pollution.
As with moving away from your electrical sources, try moving away from windows, exit doors, public hallways, and into smaller, darker places.
If you can’t move away from windows due to the constraints of your space, try soundproofing your window with our in-depth guide.
If you are recording a voiceover or a podcast, a small bedroom or closet is an ideal recording place.
While a closet may feel cramped with all of your clothes hanging around you, the excess fabrics actually benefit mic hiss removal by absorbing any reverberation from your voice or ambient noise trying to get inside.
While electrical and outside sources are significant factors that can contribute to background noise and microphone hiss, your actual recording equipment is often a culprit as well.
All electronic devices will make some amount of noise, whether it’s your toaster or the cable you are using to plug your microphone into your interface. The amount of noise that a device generates is called noise floor.
The level of noticeable hiss that a microphone has depends on its noise floor, the type of microphone, and its quality – most notably, the electrical components in the microphone that allow it to record audio.
If your microphone is cheaply made, chances are the components that allow it to record some sounds and cancel others out will not be adequate enough to remove microphone hiss.
It’s important to assess the state of your equipment, from the cables you are using, to the interface, preamp, recording software and microphone itself.
If you are new to the recording process or looking to switch up your gear, take a look at our favorite recording studio packages, which can give you the best quality at the best price.
This brings us to our next way of removing microphone hiss: prevention.

High quality microphones create the best recording quality.
The best way to get rid of mic hiss is to prevent it from happening in the first place. As I mentioned earlier, every device in your chain is going to make at least some noise.
In order to get rid of as much noise as possible, it’s best to use the best microphone you can afford (strong build quality, durable, solid sound quality) so you’re not investing in noisy gear that you’ll have to battle against later when you’re mixing your audio.
Obviously, not everyone can afford a $3000.00 microphone (home recording studios can be really expensive). You don’t need to break the bank in order to record great sounding audio while limiting background noise.
What kind of mic should you buy then?
That really depends on what you’ll be recording, where you’ll be recording, how you’ll be recording and what your budget is.
But if you’re new to recording audio, or want to brush up on your mic knowledge, it’s helpful to know the advantages and disadvantages of two of the most popular kinds of microphones on the market: dynamic microphones and condenser microphones.

Dynamic vs condenser mics
It’s important to note right off the bat that both of these microphone types are capable of generating hiss in different ways, but since they are typically the most-used and most affordable, let’s dig into some of their pros and cons.
Dynamic microphones are most often used for live recording or for recording on-location, when you need something tough and durable to bring with you on the road. These are great options if you need an affordable mic to travel with that can withstand some normal wear and tear.
However, dynamic mics require power from whatever source they’re plugged into, making their recording signal weaker than it would be with a condenser mic.
Why does that matter?
It matters because with a weak recording signal, you’ll have to bring up the gain (learn about microphone gain here) level on your preamp or audio interface, or boost the signal in the post-production process. Both of these options increase mic hiss.
Condenser microphones are usually used in the studio and are more sensitive than their dynamic counterparts. They are easier to break and also pick up more sounds from the environment around you.
Condenser mics’ sensitivity is good and bad.
For example, If you are recording a podcast and want crisp, detailed audio that reflects the warmth and intricacies of the subject’s voice, then a condenser microphone is a great resource.
But if you’re trying to record a podcast on a crowded subway car, a condenser mic is going to pick up all of the unwanted ambient noise that a dynamic mic may not be strong enough to, like the intricacies of strangers’ voices or the screeching of train wheels.
When using a dynamic mic or a condenser mic, a good preamp is a must.
Preamps are used to power condenser mics, and can also boost the recording signal from a dynamic mic without having to raise the gain level.
Make sure to power your condenser mic with a preamp and try using one with your dynamic mic to prevent hiss.
So far, we have covered ways to prevent microphone hiss before the mixing or post-production process begins. Prevention is crucial because while post-production is a useful time and place to limit hiss, some ambient noise can’t be removed.
For the ambient noise that can be removed, make sure to use audio recording software that has noise reduction.
Noise reduction is a production/post-production process that removes unwanted noise from a signal.
Depending on the audio recording software or DAW (see Pro Tools vs. REAPER here) that you use, there will be plug-ins available for free or for purchase online that can be used to isolate the unwanted ambient frequencies and reduce them.
The process of noise reduction that most plug-ins use is allowing a 15-20 second recording time to take place so your microphone can pick up the ambient noise from your (hopefully) quiet environment, as well as the noise from the mic/gear itself.
Once the plug-in has “learned” this signal, you can have the option to increase reduction or lower it’s threshold, or both.
While noise reduction is a more technical aspect of post-production mic hiss removal, it is an effective tool if you take the time to familiarize yourself with it on your software.
Just remember, noise reduction can’t eliminate all of your unwanted noise!
Noise reduction is best used as the last measure in a series of prevention measures related to mic hiss removal.
Microphone hiss is a common, sometimes aggravating, part of the recording process.
Reducing background noise, investing in good-quality, affordable gear, as well as understanding the production process of noise reduction, will remove microphone hiss or at the very least, prevent it from dominating your audio recording.
Good luck!